Table of Contents
- Quick Answer
- Professional Caulking Services
- Sealant Selection Matrix: The Right Product for Every Joint
- Where and When to Caulk
- Caulk Types and When to Use Them
- The Professional Caulking Process
- Common Caulking Mistakes
- Why Choose Condo Painters Pro for Caulking
- Toronto Neighborhoods We Serve
- Related Services
- Get Your Free Caulking Quote
Quick Answer
Caulking services in Toronto cost from $150 to $800+ depending on linear footage. A typical room with trim caulking costs $150-$400. We use paintable latex caulk for interior trim and silicone for wet areas. Professional application delivers smooth, crisp lines. Caulking is often included with painting projects.
Get your free caulking quote here.

Professional Caulking Services
The product is the first 90 percent of a caulk job. The wrong sealant in the wrong location is the most common condo failure mode we get called back on after someone else's work, and it's almost always the same mistake: silicone where paintable acrylic-latex should be, or a hardware-store bargain bead in a wet area that needs a sanitary-grade neutral-cure silicone. The defining spec is ASTM C920, which classifies sealants by type, grade, class, and use. For interior trim that needs to take paint, the right product is an ASTM C834 acrylic-latex such as DAP Alex Plus, Sashco Big Stretch, or Sherwin-Williams SherMax. For the tub-tile joint, the right product is an ASTM C920 Type S, Grade NS, Class 25 mildew-resistant silicone with an "M" (mildew-resistant) suffix.
The application is the other 90 percent. A clean joint, a backer rod in deep gaps, a single continuous bead tooled smooth with a wet finger, and a 12-to-24-hour skin cure before paint goes near it. The reliable failure mode is painting before the bead has cured, which causes shrinkage cracks along the entire seam line within a week. We don't paint until the caulk passes the skin-touch test.
We caulk as part of every paint job we run. Around door and window casings, at the wall-baseboard joint, behind tubs and toilets where moisture lives, and at every cabinet-counter junction in a kitchen refinish. The labour cost of caulk done correctly is small relative to the labour cost of redoing it after the wrong product fails in eight months.
What's Included in Caulking Services
- Gap assessment: We identify all gaps needing caulk
- Old caulk removal (if needed), We remove failed or old caulk carefully
- Surface cleaning: We clean gaps and edges so caulk adheres properly
- Caulk selection: We choose appropriate caulk type (latex or silicone) for each location
- Professional application: We apply caulk with smooth, continuous beads
- Finishing and smoothing: We smooth caulk with a wet tool, feathering edges
- Primer and paint (if requested), We prime and paint caulked areas to match trim
Caulking Pricing in Toronto (2026)
| Project | Linear Feet | Price Range |
|---|---|---|
| Single room trim caulking | 150-200 ft | $150 - $350 |
| Bedroom caulking | 200-300 ft | $200 - $400 |
| Full floor baseboards | 400-500 ft | $400 - $700 |
| Full home caulking | 800-1,200 ft | $800 - $1,500 |
| Caulk + paint trim | 300-400 ft | $600 - $1,200 |
All pricing includes caulk removal (if needed), application, and smoothing. Paint is additional.
Sealant Selection Matrix: The Right Product for Every Joint
The ASTM C920 sealant classification system (Type, Grade, Class, Use) tells you everything you need to know about a tube of sealant before you buy it, but almost nobody outside the trade reads the back label. Here's the simplified matrix we use when specifying caulk for each location in a typical condo:
| Joint location | Product class | Specific product | Why |
|---|---|---|---|
| Wall-to-trim (paintable) | ASTM C834 acrylic-latex | DAP Alex Plus, Sashco Big Stretch, SW SherMax | Paintable, sandable, 24-hr cure to paint |
| Baseboard-to-floor | ASTM C834 acrylic-latex | DAP Alex Plus or Sashco Big Stretch | Tolerates seasonal floor movement |
| Crown-to-ceiling | ASTM C834 paintable + elastomeric | Sashco Big Stretch (500% elongation) | Ceiling movement requires high elongation rating |
| Tub-tile joint | ASTM C920 Type S Grade NS Class 25 Use I+M | GE 100% Silicone II with mildewcide | Mildew-resistant, never paint over |
| Toilet-floor joint | ASTM C920 silicone, mildew suffix M | GE 100% Silicone II Kitchen+Bath | Code requires sealed joint, not paintable |
| Window casing (interior) | ASTM C834 acrylic-latex | DAP Alex Plus | Paintable; needs to flex with thermal cycling |
| Kitchen counter-to-backsplash | ASTM C920 mildew-resistant silicone (clear) | GE Advanced Silicone Kitchen+Bath | Daily water exposure; never paintable |
The single most common product mistake in condo work is using silicone where acrylic-latex belongs (and vice versa). Silicone is unpaintable — even shellac-based primer fails on a silicone bead within months. Acrylic-latex in a tub joint pulls and tears with the daily wet-dry cycle and lets water behind the wall. When in doubt at a walk-through, ask us which product is going where and we'll print it on the quote.
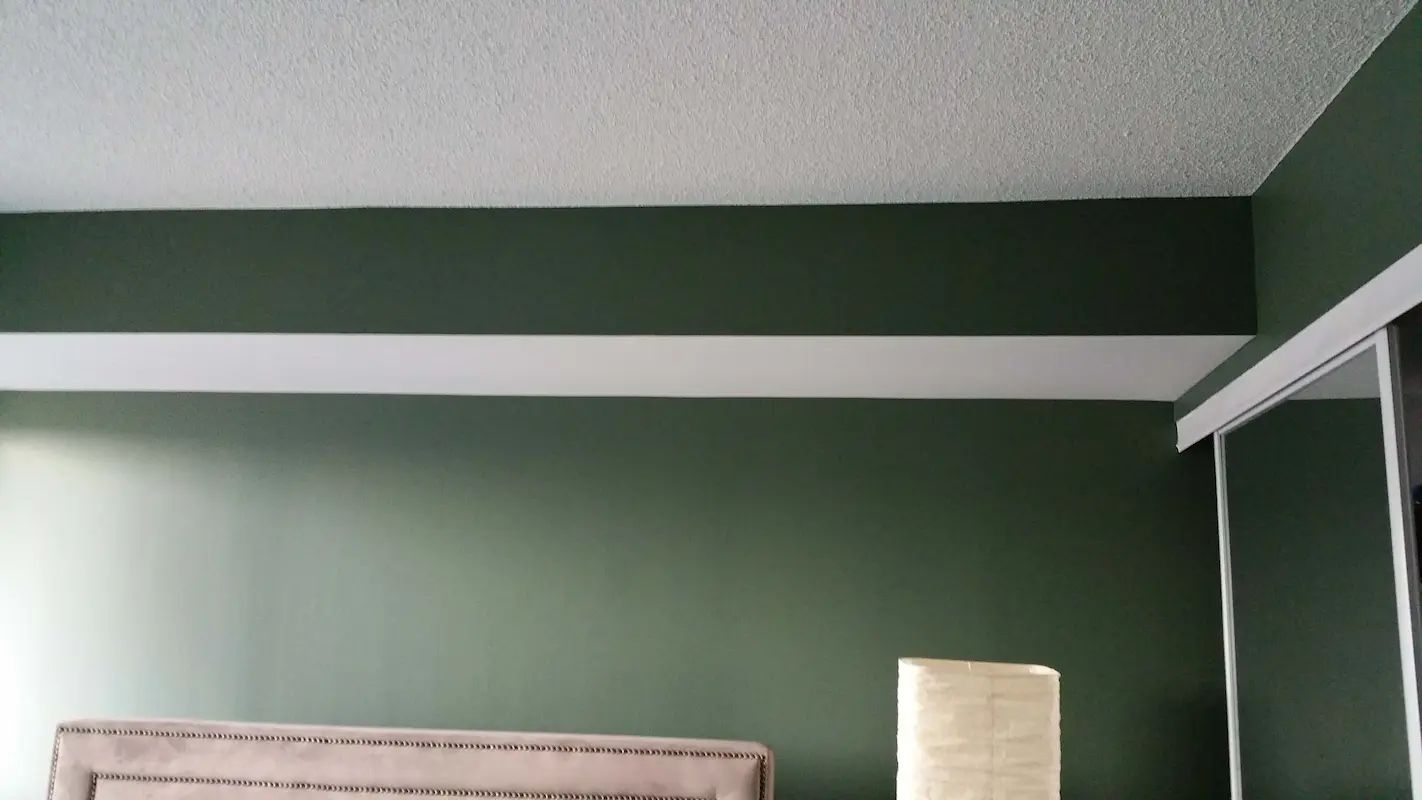
Where and When to Caulk
Caulking in Trim Work
Gap between baseboard and wall:
- Walls are rarely perfectly flat against trim
- Settlement and age create gaps
- Caulk seals the gap and creates a seamless line
- Paint over caulk so everything matches
Gap between baseboard and flooring:
- Uneven floors are common in older Toronto homes
- Gaps trap dirt and dust
- Caulk fills these gaps and seals them
- Caulk prevents dirt accumulation
Inside corners where two trim pieces meet:
- Corners are notorious for gaps
- Wood expands and contracts with humidity, creating movement
- Caulk accommodates movement and maintains seal
- Professional trim work always includes corner caulking
Caulking in Doors and Windows
Door frame gaps:
- Gaps between door frame and drywall
- Allow drafts and dirt infiltration
- Caulk seals the gap
- Paint matches trim colour
Window frame gaps:
- Gaps between window frame and drywall
- Caulk seals and prevents air leakage
- Silicone caulk is best because it resists moisture and temperature swings
Caulking in Bathrooms and Kitchens
Around bathtub and shower:
- Water splashes and moisture is high
- Silicone caulk resists moisture better than latex
- Professional caulking prevents water damage to walls
Around bathroom fixtures:
- Sink, toilet, vanity where water may splash
- Silicone caulk is essential
- Regular cleaning needed to prevent mildew
Kitchen backsplash and trim:
- Moisture and grease are concerns
- Silicone caulk is more resistant
- Paintable silicone can be finished to match trim
Caulking Gaps Around Fixtures
Light fixtures:
- Gap between fixture and ceiling or wall
- Caulk creates seamless look
- Use paintable caulk that matches trim
Vents and returns:
- Gaps between vent covers and walls
- Caulk hides gaps
- Must use paintable caulk if painted later
Caulk Types and When to Use Them
Latex (Paintable) Caulk
Best for:
- Interior trim, baseboards, doors
- Walls and ceilings
- Any indoor gap that is not wet
Advantages:
- Paintable, blends with trim colour after paint
- Easy cleanup (water-based)
- Flexible enough for most applications
- Affordable
Disadvantages:
- Not suitable for wet areas (will fail)
- Less flexible than silicone
- Shrinks slightly over time
Our choice for most interior trim work.
Silicone Caulk
Best for:
- Bathrooms (around tub, shower, sink)
- Kitchens (around fixtures, counters)
- Windows (resists moisture)
- Wet areas of any kind
Advantages:
- Highly flexible, accommodates movement
- Moisture-resistant, mildew-resistant
- Lasts longer than latex (7-10 years vs. 5-7 years)
- Works in temperature extremes
Disadvantages:
- Not paintable (paint will not adhere)
- Harder to apply smoothly
- Cleanup requires mineral spirits
- More expensive than latex
Our choice for bathrooms and wet areas.
Paintable Silicone Caulk
Best for:
- Wet areas that need to be painted
- Bathroom trim that matches painted finishes
- Kitchen trim in moist areas
Advantages:
- Silicone benefits plus paintable
- Best of both worlds
Disadvantages:
- Most expensive option
- Limited colour selection
- Requires primer for good paint adhesion
The Professional Caulking Process
Step 1: Assessment
We identify all gaps needing caulk:
- Trim-to-wall gaps
- Trim-to-floor gaps
- Corner gaps
- Door and window frame gaps
- Fixture gaps
We measure linear footage and provide a quote.
Step 2: Old Caulk Removal (If Needed)
If old caulk exists and is failing:
- We use caulk removal solution (cuts caulk for easy removal)
- We scrape away old caulk
- We clean residual caulk and debris from the gap
This step is critical. New caulk will not adhere if old caulk is still present.
Step 3: Surface Cleaning
We clean gaps with a damp cloth or brush:
- Remove dust, dirt, paint flecks
- Allow surface to dry
- Clean surfaces ensure good adhesion
Step 4: Caulk Selection
We choose the right caulk:
- Latex for interior trim
- Silicone for bathrooms and wet areas
- Paintable silicone if painting over caulk
Step 5: Caulk Application
Using a caulk gun:
- We apply caulk in a single, continuous bead
- Steady pressure ensures consistent bead size
- We do not over-apply or under-apply
- Bead should be smooth and uniform
Step 6: Smoothing and Finishing
Immediately after application:
- We smooth the bead with a wet finger or caulk smoothing tool
- We feather edges so caulk blends with surrounding surfaces
- We wipe excess caulk away
- The goal is a smooth, professional appearance
Step 7: Curing
- Latex caulk cures in 24 hours
- Silicone takes longer (24-48 hours)
- After curing, caulk can be painted or left as-is
Step 8: Paint (If Requested)
If caulking is being painted:
- We prime caulked areas (especially important for silicone)
- We paint to match trim colour
- Paint creates seamless appearance

Common Caulking Mistakes
Caulking Over Old Caulk
Old caulk must be removed. New caulk over old fails because it has nothing to bond to.
Improper Surface Preparation
Dirty, dusty, or damp surfaces prevent adhesion. We clean thoroughly.
Wrong Caulk Type
Using latex in wet areas or silicone in paintable applications. We choose the right product for each location.
Overfilled Gaps
Too much caulk is hard to smooth and looks unprofessional. We fill gaps full but not overflowing.
Poor Finishing
Rough, unsmoothed caulk lines look amateurish. Professional smoothing creates seamless appearance.
Painting Silicone Without Primer
Paint does not stick to silicone. Primer is essential if painting silicone caulk.
Why Choose Condo Painters Pro for Caulking
- Professional technique. We apply caulk with smooth beads and professional finishing.
- Right product selection. We choose latex or silicone based on location and requirements.
- Thorough preparation. We remove old caulk and clean surfaces for proper adhesion.
- Seamless appearance. Our caulking blends with trim and looks professionally finished.
- Combined services. We caulk as prep work before painting or as standalone service.
- Experience. We have caulked thousands of linear feet across Toronto homes and condos.
- Fixed-price quotes. Honest pricing based on linear footage.
Good caulking is one of the details that separates professional from DIY. It is worth doing right.
Toronto Neighborhoods We Serve
We provide caulking services across the Greater Toronto Area: Downtown Toronto, North York, Etobicoke, Scarborough, Markham, Richmond Hill, Mississauga, Vaughan, Oakville, and beyond.

Related Services
Pair caulking with these complementary services:
- Interior Painting, Caulk trim, then paint
- Trim & Baseboard Painting, Caulk and paint trim together
- Bathroom Painting, Caulk and paint bathroom simultaneously
- Drywall Repair, Caulk gaps after drywall repair
Get Your Free Caulking Quote
Ready to seal those gaps? Call us at (416) 896-1071 or request your free quote. We will assess your caulking needs, measure linear footage, and give you an honest price. Caulking is often included or discounted with painting projects.