Table of Contents
- Quick answer: why cracks and nail pops come back
- Why concrete-frame condos crack at corners
- The repair that actually holds: tape plus setting compound
- Cost of crack and nail-pop repair in 2026
- How to fix a nail pop, step by step
- When a crack is more than a hairline
- Popped tape seams: a separate problem
- Prep that holds is what the paint job is paying for
Quick answer: why cracks and nail pops come back
Hairline cracks at corners and nail pops in concrete-frame Toronto condos come from the building's normal movement: temperature, season, and load make the structure flex slightly, and that flex finds an outlet through the most rigid finish material, which is the drywall. Fixing them with spackle alone does not work because spackle is brittle and air-drying; the crack or pop reappears the next time the building moves. The repair that lasts uses mesh tape plus setting-type joint compound for cracks, and adds a new screw next to a popped one to redistribute load.
Key Takeaways
- Cracks at corners come from concrete-frame movement; they are normal, not structural failure.
- The engineering rule: mesh tape + setting-type joint compound (CGC Durabond 20/45/90, chemical cure). Pairing mesh with drying-type ready-mix is the #1 reason cracks come back.
- Joint compound is governed by ASTM C475/C475M; setting-type cures by chemical reaction, drying-type cures by water evaporation (up to 24 hours per the CGC Sheetrock All-Purpose TDS).
- Nail pops need a new screw next to the popped one; do not push the popped one back in.
- Cracks wider than 2 mm or that change shape across seasons are an engineer conversation, not a painter conversation.
Cracks and nail pops catch the most owners off-guard, because the damage is normal and the DIY repair (spackle, paint, hope) reliably fails within months. Below, why concrete-frame Toronto condos crack at the same spots every season, the repair technique that actually absorbs the movement, what each fix costs in 2026, and when a crack stops being a painter's job and starts being an engineer's. For the broader prep picture, start with the condo surface repair guide, and for the drywall side of these repairs, see drywall repair in a condo.
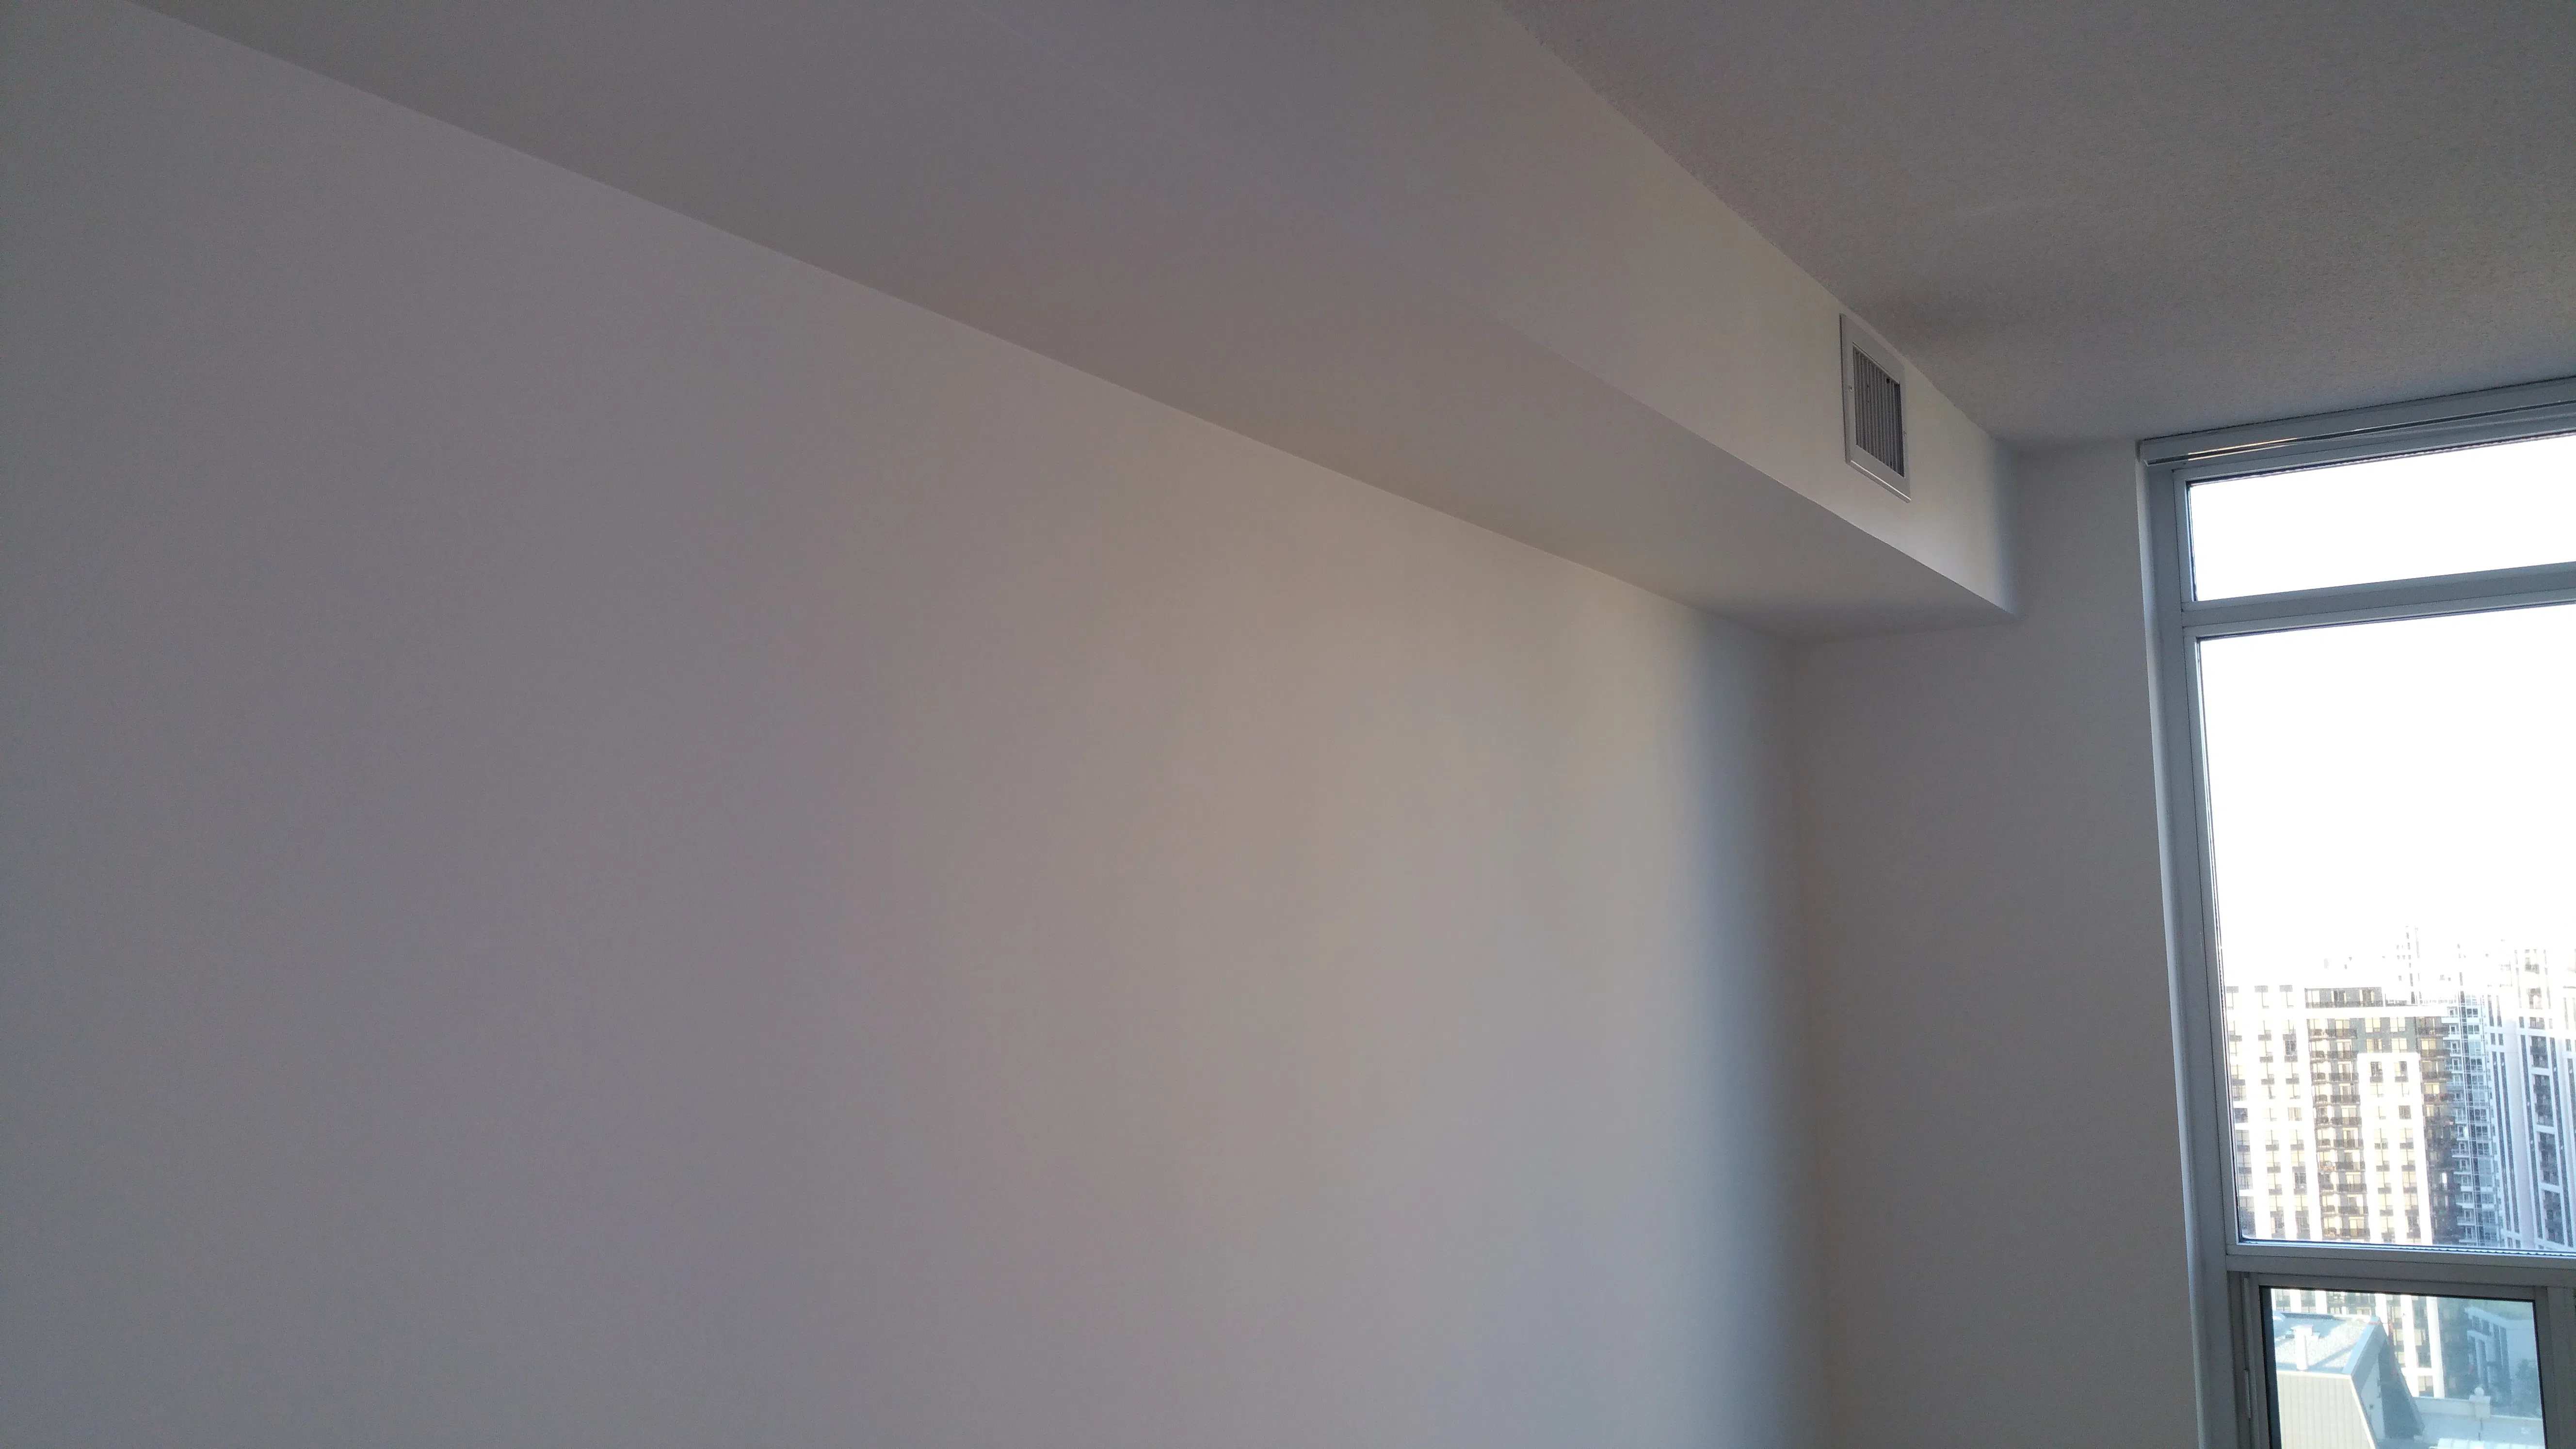
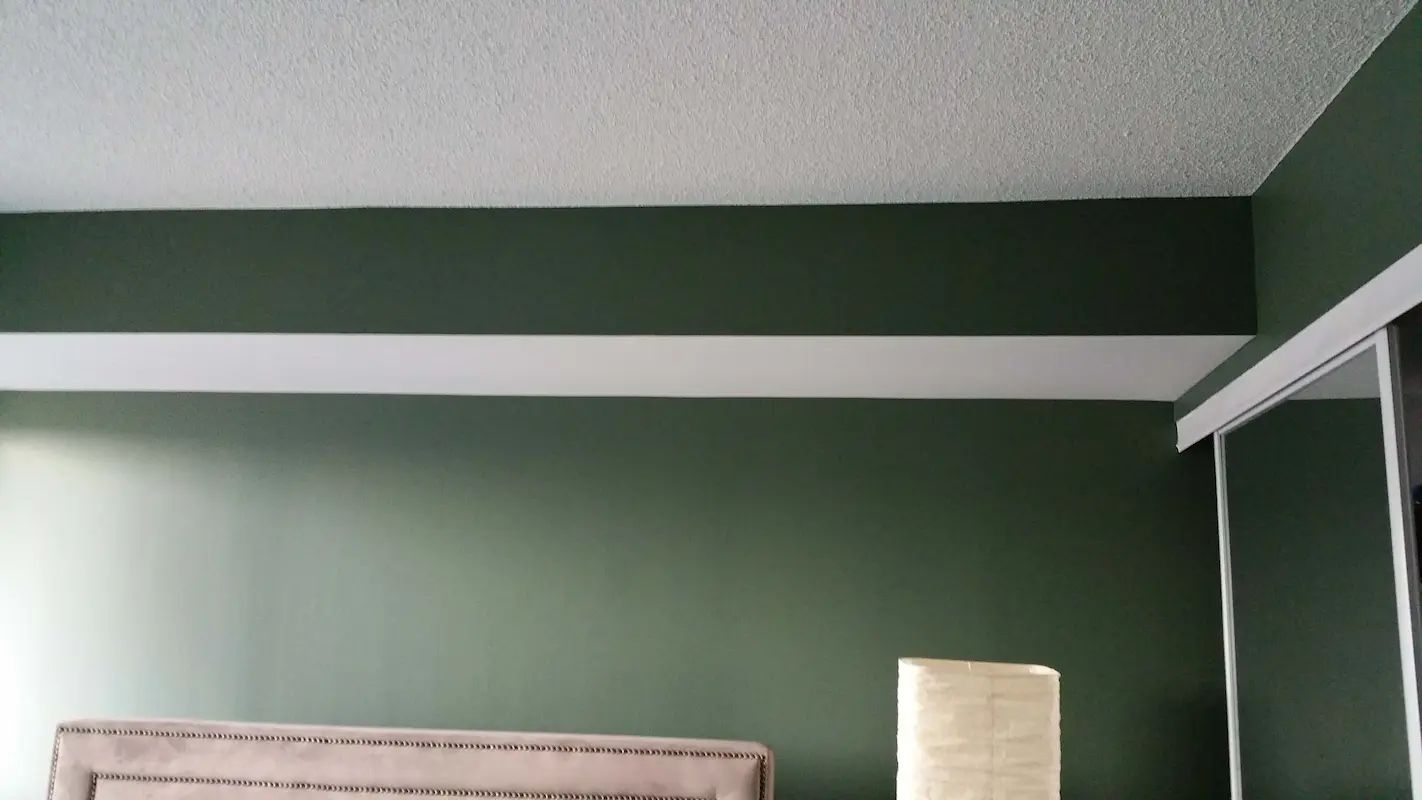
Why concrete-frame condos crack at corners
A concrete-frame condo is a stack of suspended floors on a flexible structural skeleton. The skeleton breathes: temperature changes flex the concrete slightly, summer heat expands materials, winter cold contracts them, and the daily load shifts as occupants move around. The skeleton is engineered to take that movement, but the finish materials sitting on top of it are not all equally flexible.
Drywall is the most rigid common interior finish. When the building flexes, the drywall has nowhere to give except by cracking, and the cracks always appear at the same stress points: door corners (where the rectangular cutout creates a stress concentration), window corners (same reason), and along the line where the top of a wall meets the ceiling (where two planes change direction).

Once a crack forms, it becomes the building's permanent expansion joint at that spot. It will close in winter, open in summer, and follow the same line year after year. You can stop it from being visible by repairing it with a flexible technique, but you cannot stop the underlying movement that causes it. That is why spackle alone always fails: the building does not care that you patched the crack.
The repair that actually holds: tape plus setting compound
This is the part most DIYers don't know, and it's the difference between a crack that stays fixed and one you'll be looking at again next year. You need two products, and they have to be the right two products. Both are specified by ASTM C475/C475M, the standard for joint compound and tape on gypsum board.
The tape. Self-adhesive fibreglass mesh, about 5 cm wide, straight across the crack. The mesh is flexible enough to absorb the small seasonal movement without itself cracking. For cracks over a millimetre wide I'll sometimes use paper tape instead, it's stronger but slower, because paper needs a wet bed of compound under it to embed properly. For most condo hairlines, mesh is the right call.
The compound, and here's where the magic is. There are two completely different chemical families of joint compound sitting in the drywall aisle, and they look almost identical on the shelf. They are not interchangeable. One holds, the other doesn't.
| Type | How it cures | What it's called | Working time | What it's for |
|---|---|---|---|---|
| Setting-type | Chemical reaction (gypsum + water → harder gypsum) | CGC Durabond 20 / 45 / 90 (powder, mix it yourself) | 20, 45, or 90 minutes | Crack repair, deep fills, embedding tape. Hard, low-shrinkage, flexes with the wall. |
| Drying-type (ready-mix) | Water evaporates out | CGC Sheetrock All-Purpose (premixed in a bucket) | Days | Top-coat feathering, final smoothing. Soft, easy to sand, too soft for tape under load. |
Pairing mesh tape with the ready-mix bucket compound is the most common reason "fixed" cracks come back. Bucket compound cures too soft to compensate for the mesh's flex. The wall moves a millimetre with the season, the soft compound can't hold the joint, and the crack returns right along the same line. Setting compound is what mesh tape is engineered to work with. CGC's own TDS for Sheetrock All-Purpose is upfront that the product takes up to 24 hours to dry, and even fully dried, the cured film is softer than chemically-set Durabond. Use bucket compound on top of the setting compound for the final smoothing pass. Don't use it as the structural layer.
The order I'd run it: tape the crack with mesh, mix a small batch of Durabond 20 or 45, lay a first coat about 15 cm wide and feather the edges out. Wait for the chemical set (30-60 minutes, depending on which Durabond), sand it smooth. Second coat thinner, feathered further. Sand again. Prime, paint. Done right, the crack is gone and stays gone.
Cost of crack and nail-pop repair in 2026
| Repair | Typical cost in 2026 | Notes |
|---|---|---|
| Hairline crack at a corner (per crack) | $75 to $200 | Mesh tape plus setting compound, two skim coats. |
| Light nail-pop repair (a few pops) | Included in paint quote | Standard light prep. |
| Heavy nail-pop repair (20+ pops on a wall) | $200 to $500 | Approaches a full wall skim. |
| Popped tape seam, per linear metre | $150 to $400 | Re-tape and skim along the seam length. |
| Full-wall skim for widespread cracking | $300 to $700 per wall | When small cracks cover an area too large for spot repair. |
These are first-party 2026 ranges from condo paint jobs. Most condos we paint need some combination of these. A typical 1980s-era condo lands at $400 to $1,200 total for crack and pop repair across the unit; a modern glass-tower one-bedroom might need $0 to $200 because the building has not had time to develop the same cracking pattern yet.
How to fix a nail pop, step by step
The single mistake that makes nail-pop repair fail is just spackling over the popped head. The screw is still loaded, still working loose, and will pop again within months. The fix that holds:
- Inspect the pop and locate the stud behind it. A magnetic stud finder confirms the screw is in lumber.
- Drive a new drywall screw 3 to 5 centimetres above or below the popped one, into the same stud. This new screw locks the drywall back against the framing. Use the right length screw (38 millimetres for 13-millimetre drywall) and stop just below flush, not below the paper face.
- Drive the original popped screw slightly deeper than flush so its head sits below the wall surface. Do not remove it; removing leaves a hole.
- Skim both screws with all-purpose joint compound, about 8 to 10 centimetres wide, feathered to nothing.
- Let cure overnight, sand smooth, dust, and prime the patched area.
- Paint with the rest of the wall. Two coats so the sheen is uniform.
The whole process takes about 15 minutes of active work per pop, split across two days because of the cure time. A wall with three or four pops takes one painter half a day total. A wall with twenty pops is a full day of work and warrants the heavier price band.
When a crack is more than a hairline
Most condo cracks are normal seasonal movement. A few warning signs that warrant bringing in a structural engineer before any painter touches the wall:
- Cracks wider than 2 millimetres at their widest point.
- Cracks that change visibly across a season (you can measure them widening from winter to summer).
- Cracks that step diagonally across a wall rather than running along a stress line.
- Cracks accompanied by other movement signs: doors that suddenly bind in their frames, floors that have started to slope, windows that no longer close cleanly, popping sounds from the structure.
- Recurring cracks at the same spot after a proper repair done by a professional.
Any of these points the conversation toward an engineer or property manager rather than a painter. We flag them on the walkthrough and recommend the right next step before quoting a paint job, because painting over a crack that indicates real movement is just paying to repaint when the movement reappears.
Popped tape seams: a separate problem
A popped tape seam is different from a hairline crack. It is the original drywall tape (paper or fibreglass) along the seam between two drywall sheets lifting away from the wall, usually because the original installation was rushed or the compound underneath was applied too thinly. Pops show up as long ridges or bubbles along the line where two drywall sheets meet, typically running vertically up a wall or horizontally across a ceiling.
The repair is more involved than a crack repair because the existing tape has to come out before the new repair goes in. The sequence: cut the existing tape free with a utility knife along the seam, scrape any compound that comes with it, vacuum the seam clean, re-tape with mesh or paper, then skim with setting compound in two to three coats, sanding between. The skim has to feather out wider (20 to 30 centimetres) than a crack repair because the seam is longer and the new compound has to blend cleanly into the surrounding wall.
Popped tape seams are most common in 1970s and 1980s buildings where original construction practices were less consistent. We sometimes find them in newer buildings too, especially in suites where the original finish was rushed before move-in.
Prep that holds is what the paint job is paying for
Crack and pop repair is the most invisible kind of prep work: when it is done properly, the only evidence is a clean paint finish that does not telegraph the underlying damage. When it is done with the wrong technique (spackle alone, push-in nail-pop fixes, no setting compound), the repair fails within months and the paint job that looked clean at handover starts looking patchy by the next season. The right technique costs the same in materials as the wrong one, takes thirty to sixty extra minutes per repair, and lasts years instead of months.
Mesh tape and setting-type compound on every crack. New screw next to every popped one, not just a spackle over the head. Anything wider than 2 millimetres is an engineering conversation before we will price the paint. Benjamin Moore on top, 5-year warranty on the workmanship. For an honest crack-and-pop assessment on your unit, send photos of the worst spots. For the broader prep picture, our condo surface repair guide covers the stages, and on the drywall side, drywall repair in a Toronto condo covers patches, replacement, and water damage.
Chad Saygili is co-owner of Condo Painters Pro, a Toronto condo painting specialist. He has spent years painting condos across Toronto and the GTA, works exclusively with Benjamin Moore, and backs every job with a 5-year workmanship warranty.
MORE ABOUT OUR TEAM →